What can you do with them? Some of my blogger besties and I have some ideas!

This post may contain affiliate links, which means if you make a purchase through them I receive a small percentage at no extra cost to you (read my full disclosure).
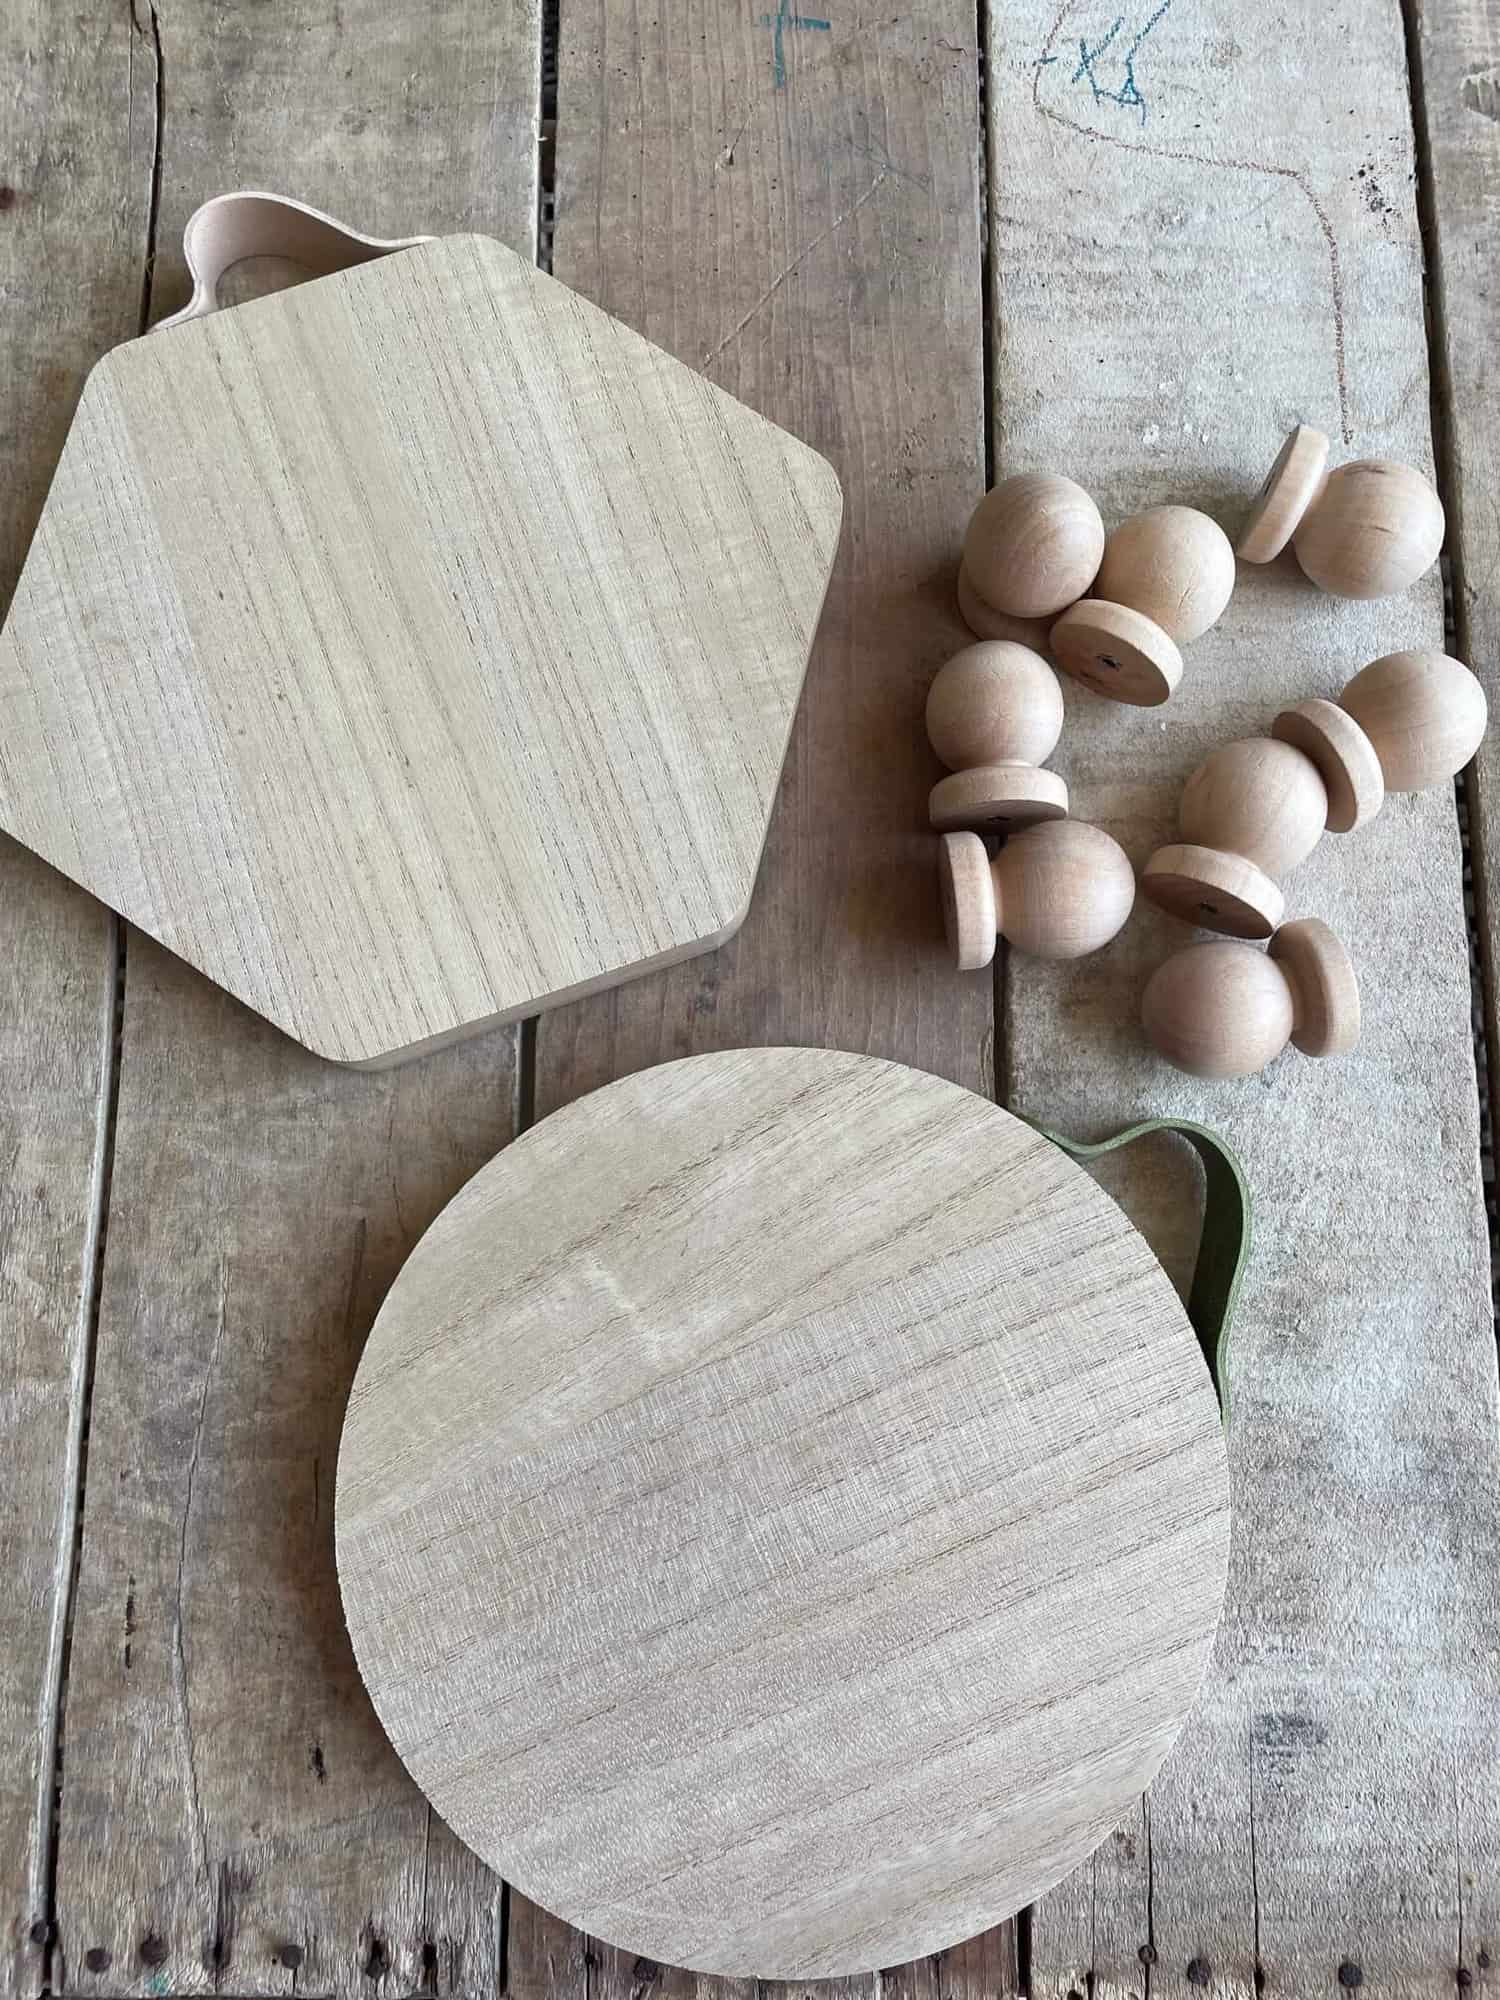
Wood rounds and wood slices come in many sizes and shapes. Some are natural wood slices with bark on the edges, some have more finished edges, and some are more like thin plywood or luan.
My blogger friends, Libbie from A Life Unfolding, Jen from Noting Grace, Leen from Sanddollar Lane, and Brooke from Cribbs Style and I have teamed up using this particular wood craft base from Target.
Have you seen these at your local Target?

It came in round and hexagonal, but wouldn't you know it, they're currently sold out online. There are many options here on Amazon and Etsy though.
So what can you do with a wood craft base?
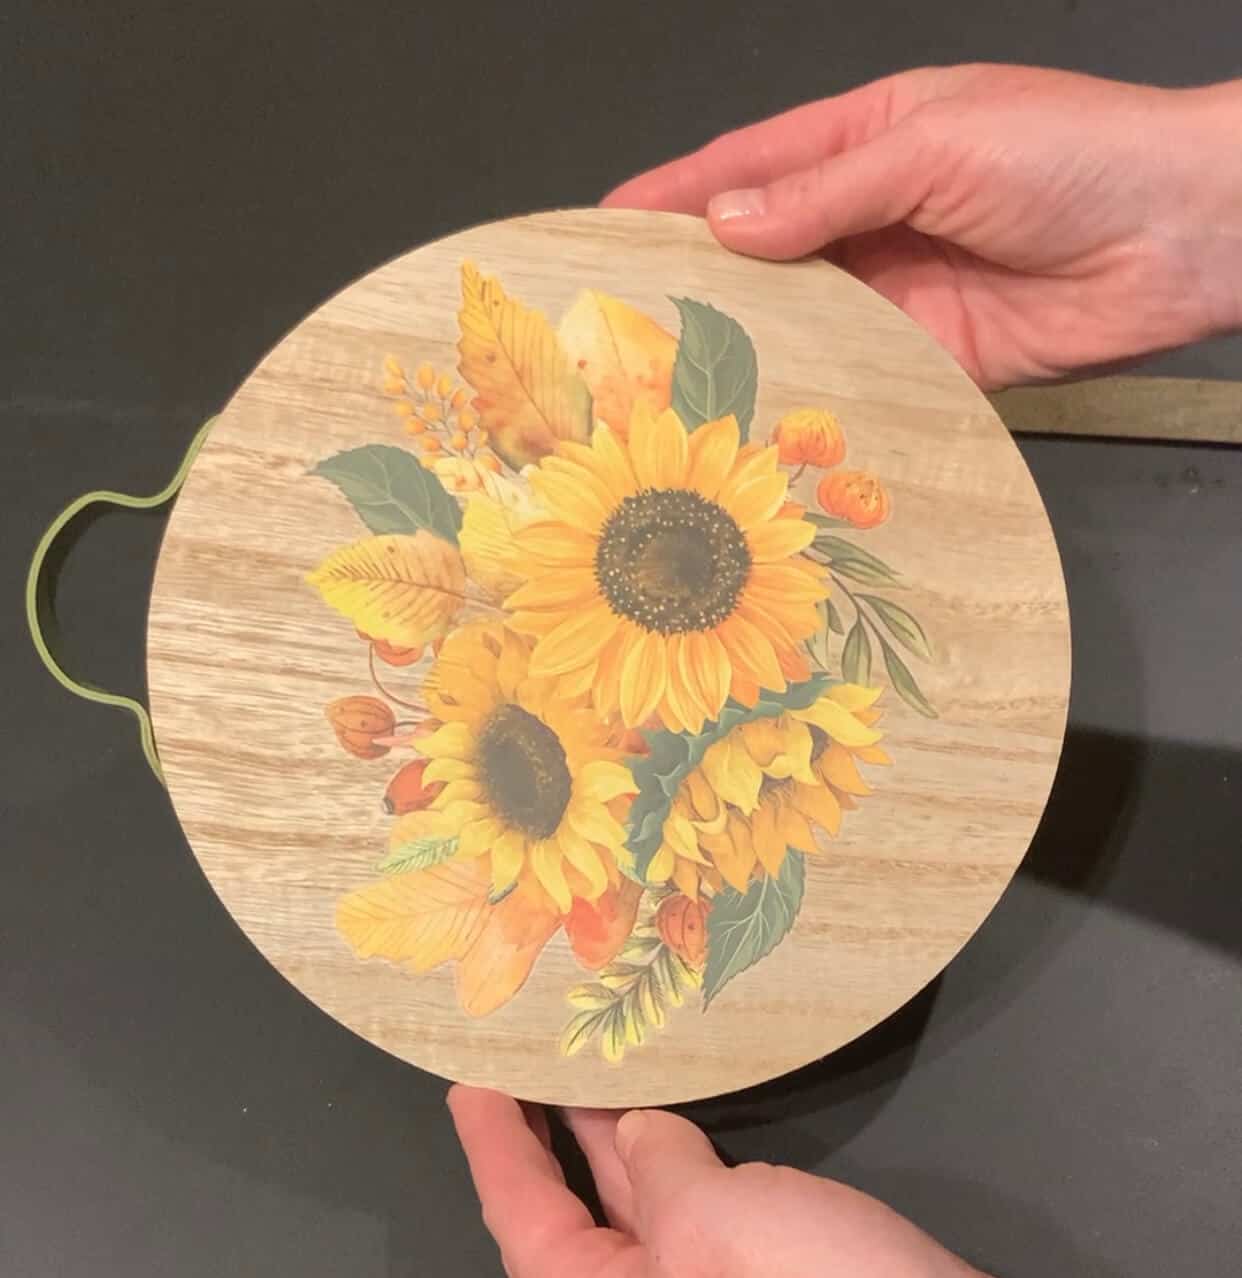
I decided to use rub on transfers on mine. Rub on transfers are very versatile and can be used on many surfaces, including wood.
They're also surprisingly easy to work with.
Easy Wood Round Craft: Supplies
Here's the set of rub on transfers that I used. I thought the sunflowers would be perfect for the late Summer into Fall transition.

This set comes with three sheets of sunflower transfers as well as the wooden tool needed to rub.


I chose this grouping of sunflowers and leaves because they had the circular pattern to match my wood base.


Easy Wood Round Craft: How To
1. If necessary, cut your desired design out of the sheet.

2. Place the design on the wood base as you desire, I wanted mine to be fairly centered.
Keep the backing in tact for this part because some transfers can be sticky and once they are placed, they cannot be moved.

3. Once you've decided where you would like the pattern to be placed, carefully peel the transfer design off of the backing paper.

4. And then lay it back down in the same position. You may need to mark with a pencil where the edges are. I didn't need to here because the design has some free flow in it.

5. Use the long side of the rubbing tool to gently spread from the middle out to the edges. This will help prevent any bubbles or wrinkles.


6. Next, using the narrower end of the tool, gently rub the transfer.
I say gently, but that is so the transfer doesn't get moved or damaged.
So I just rubbed over every inch of the design very carefully.

7. Once I thought I had rubbed sufficiently, I did a little test to make sure.
I pulled up the clear transfer paper to see what was below.
What I was looking for was clean transfer paper with no leftover remains of the design stuck to it.

It's easy to miss a spot on a transfer.
If, as you are raising the paper you see a piece of the design still stuck on it, lay the transfer paper back down gently.
Then you can rub it with the tool again a few times to be sure it is all off the paper and onto the wood.


Keep removing the clear transfer paper and fixing any spots that need fixed.


And that is my quick and easy wood round craft.
Now here's what my friends came up with for these shapes...
A Life Unfolding
Easy DIY Mini Charcuterie Boards
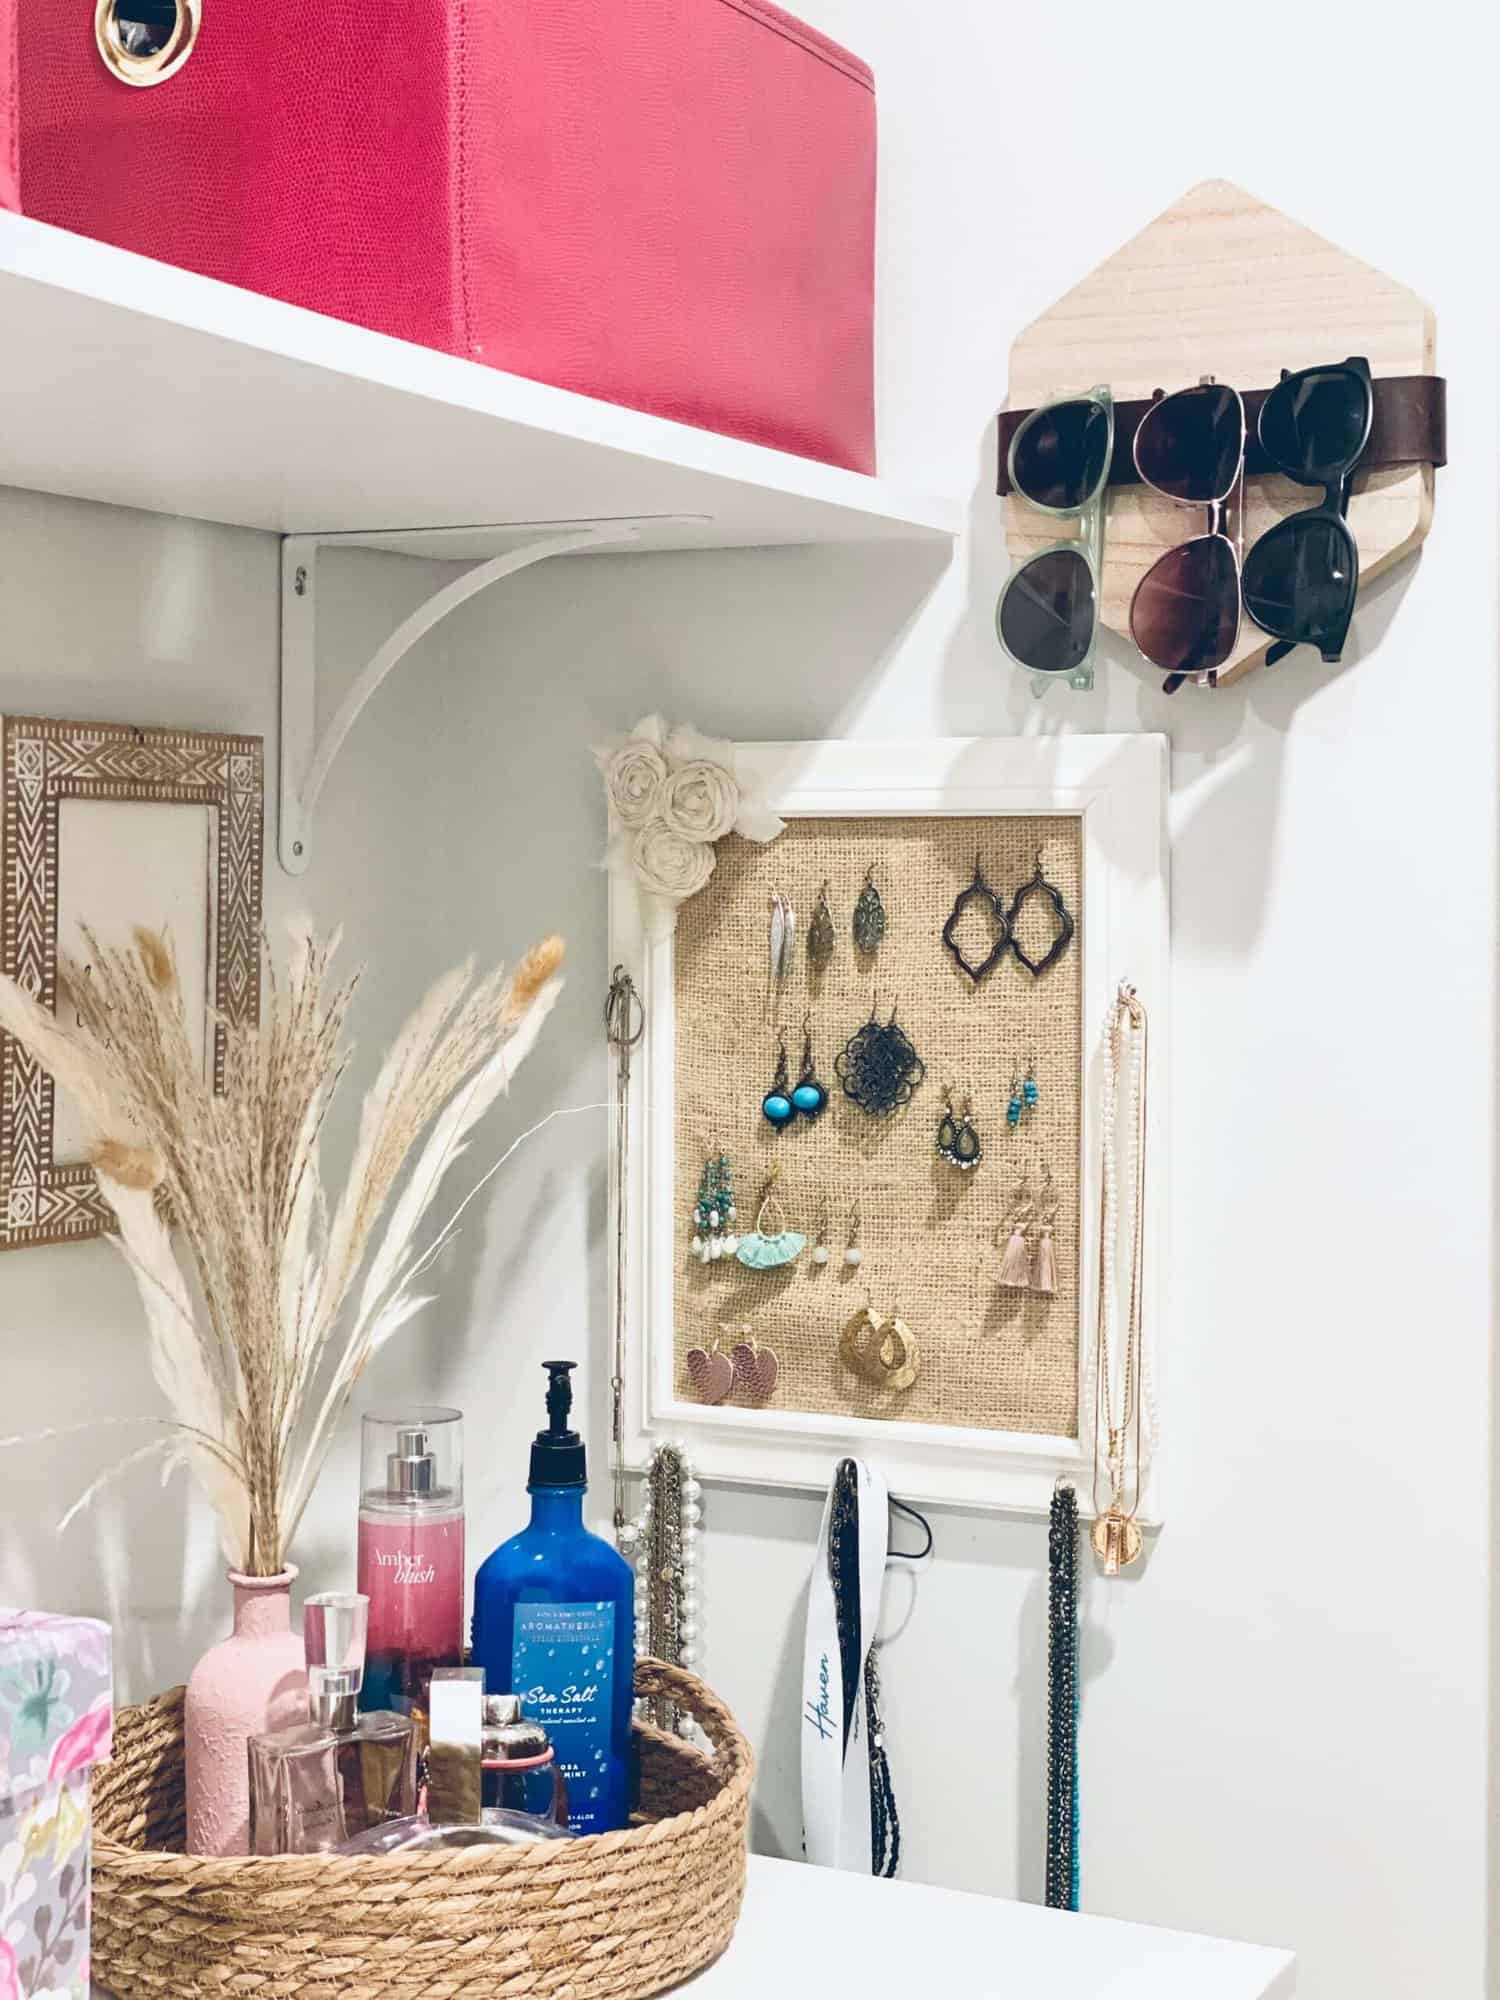
Cribbs Style
Easy and Inexpensive Sunglass Holder
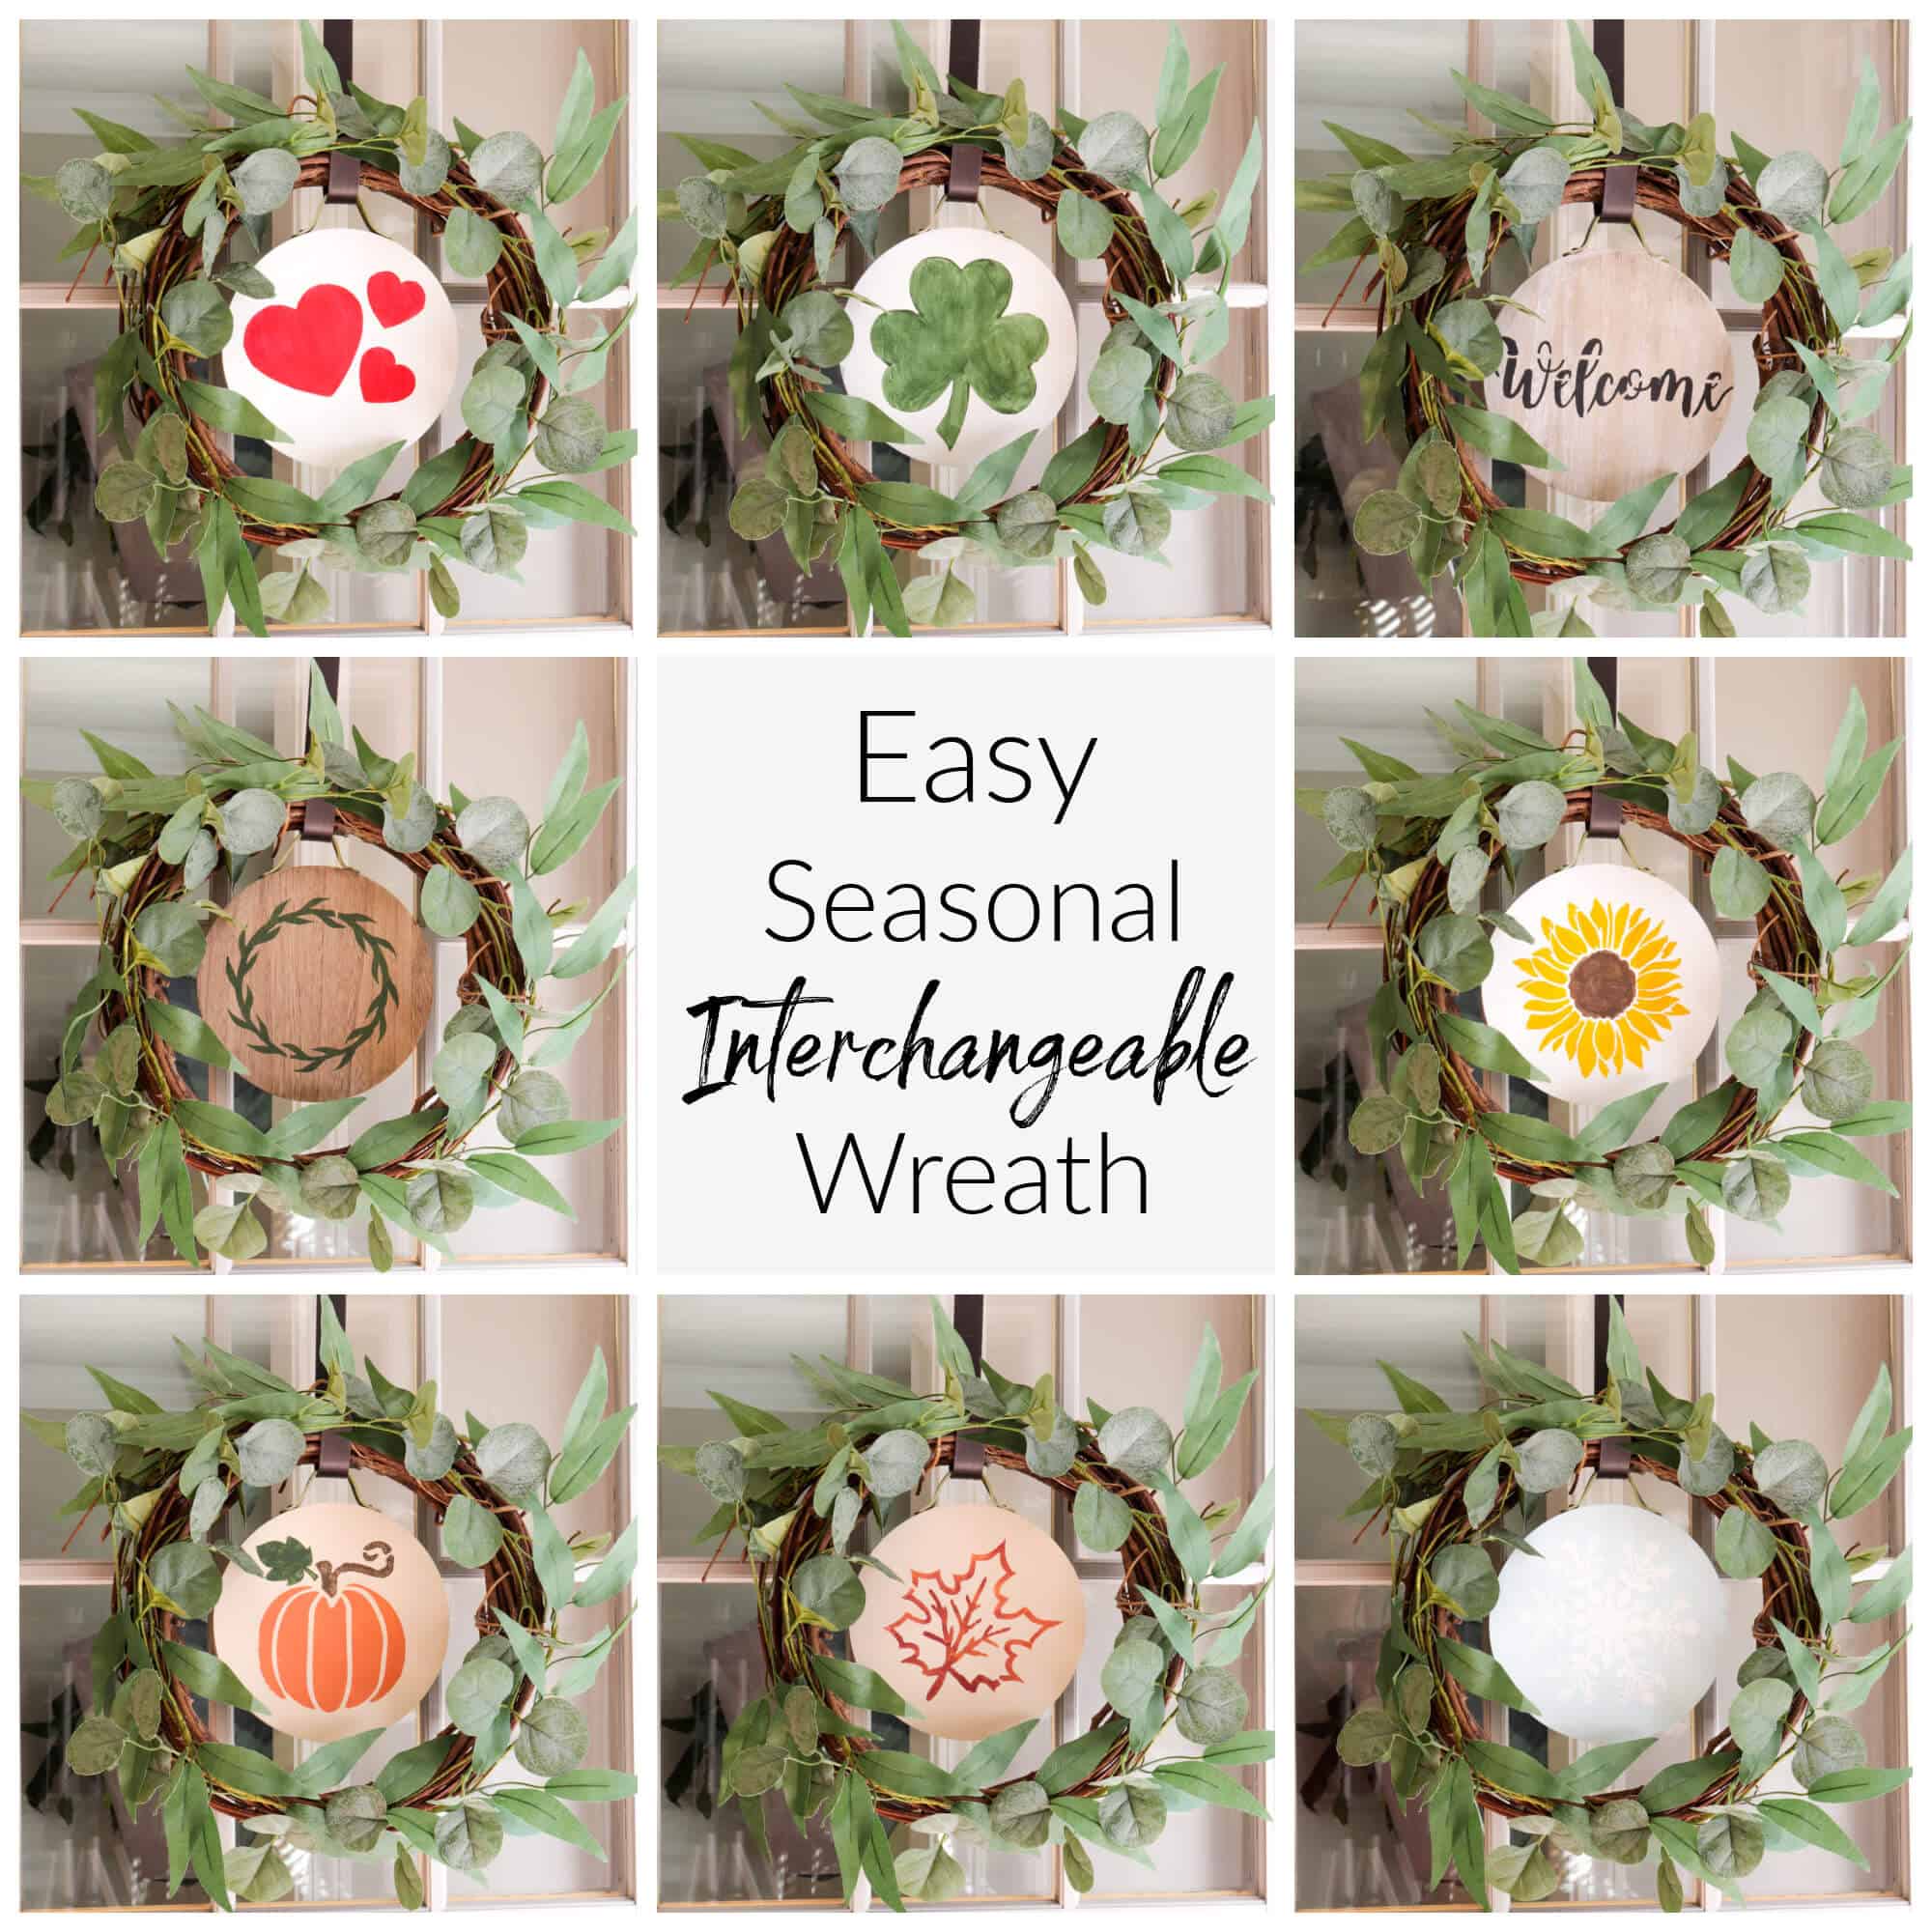
Noting Grace
Easy Seasonal Interchangeable Wreath
The Roots of Home
Easy Wood Round Craft
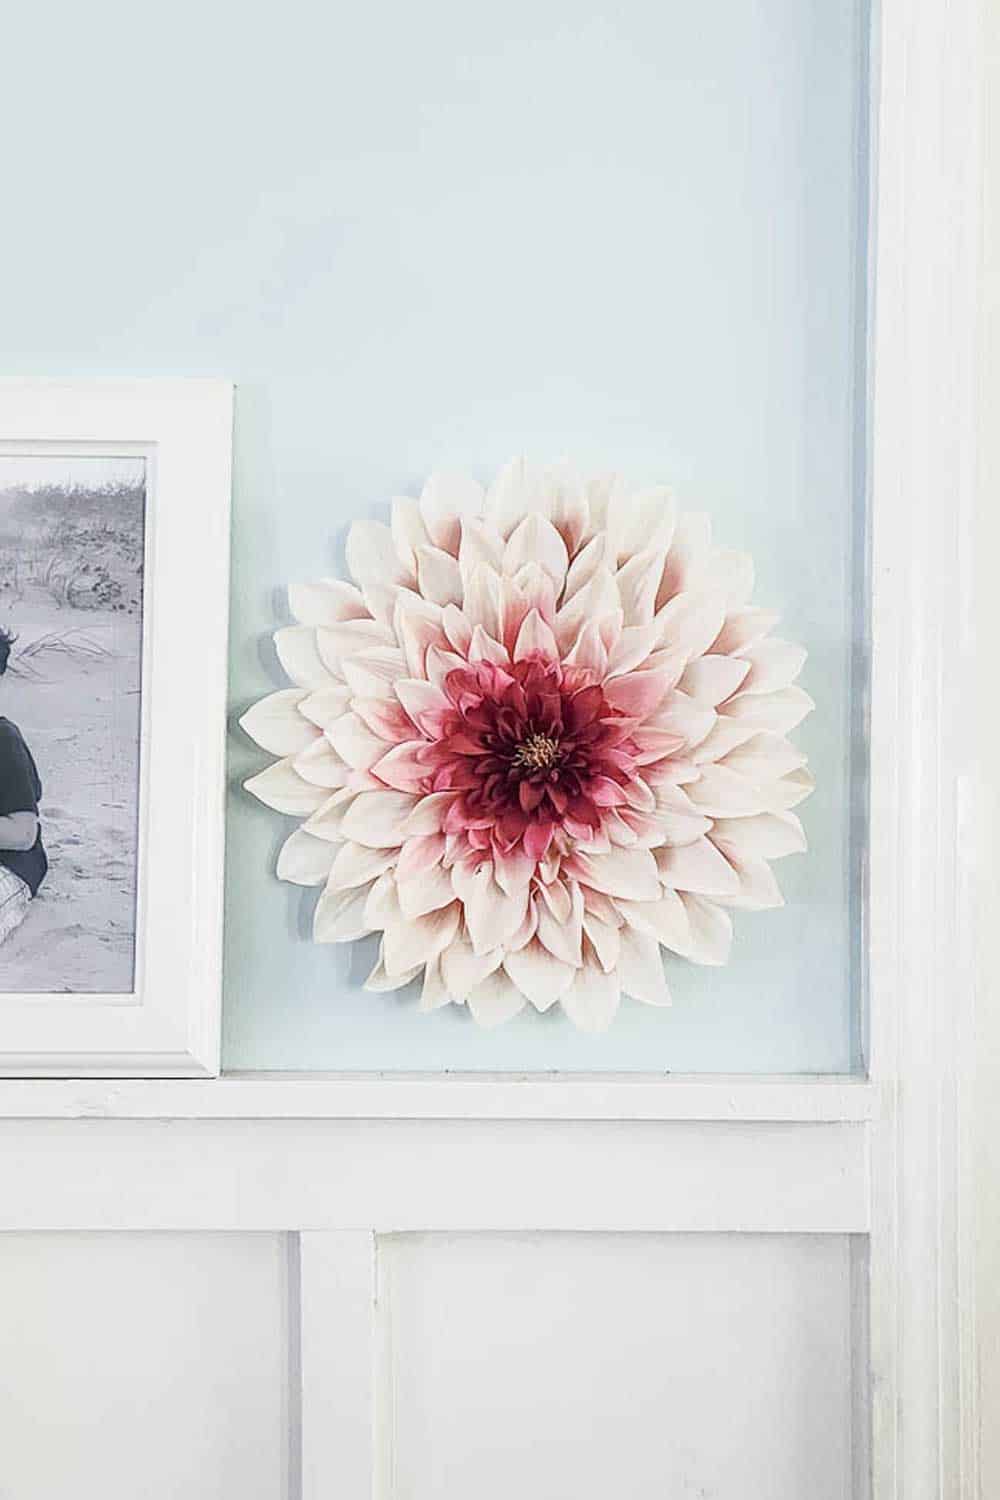
Sand Dollar Lane
Flower Wall Hanging